
How Brickwork is Inspected for Quality Before Plastering Begins

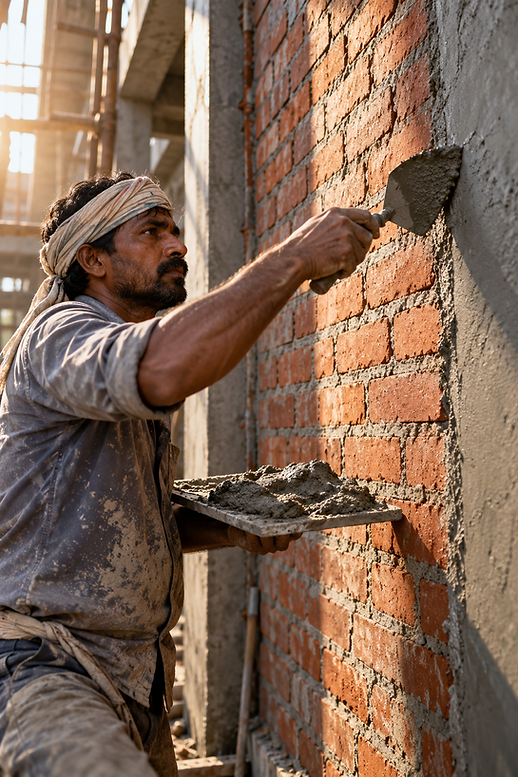
Once plastering is done, everything underneath it becomes invisible forever. Bad brickwork hidden under plaster doesn't disappear — it shows up later as cracks, uneven walls, seepage, and doors that won't close properly.
The inspection window is narrow: after brickwork is complete and before the plasterer picks up his trowel. Here's exactly what needs to be checked — and what to do if something's wrong.
Why This Stage Matters
Plastering does not fix brickwork problems. It covers them.
A wall that's out of plumb (not perfectly vertical) needs extra plaster on one side to look straight — that thick, uneven plaster coat cracks faster. A wall with gaps at the column junction gets seepage which then appears as staining on the plastered surface. Mortar joints that weren't filled properly create hollow spots behind plaster that sound different when tapped and eventually break away.
Every problem caught here costs ₹500 to fix. The same problem after plastering costs ₹5,000–₹20,000.
What to Check — Point by Point
1. Plumb — Are the Walls Perfectly Vertical?
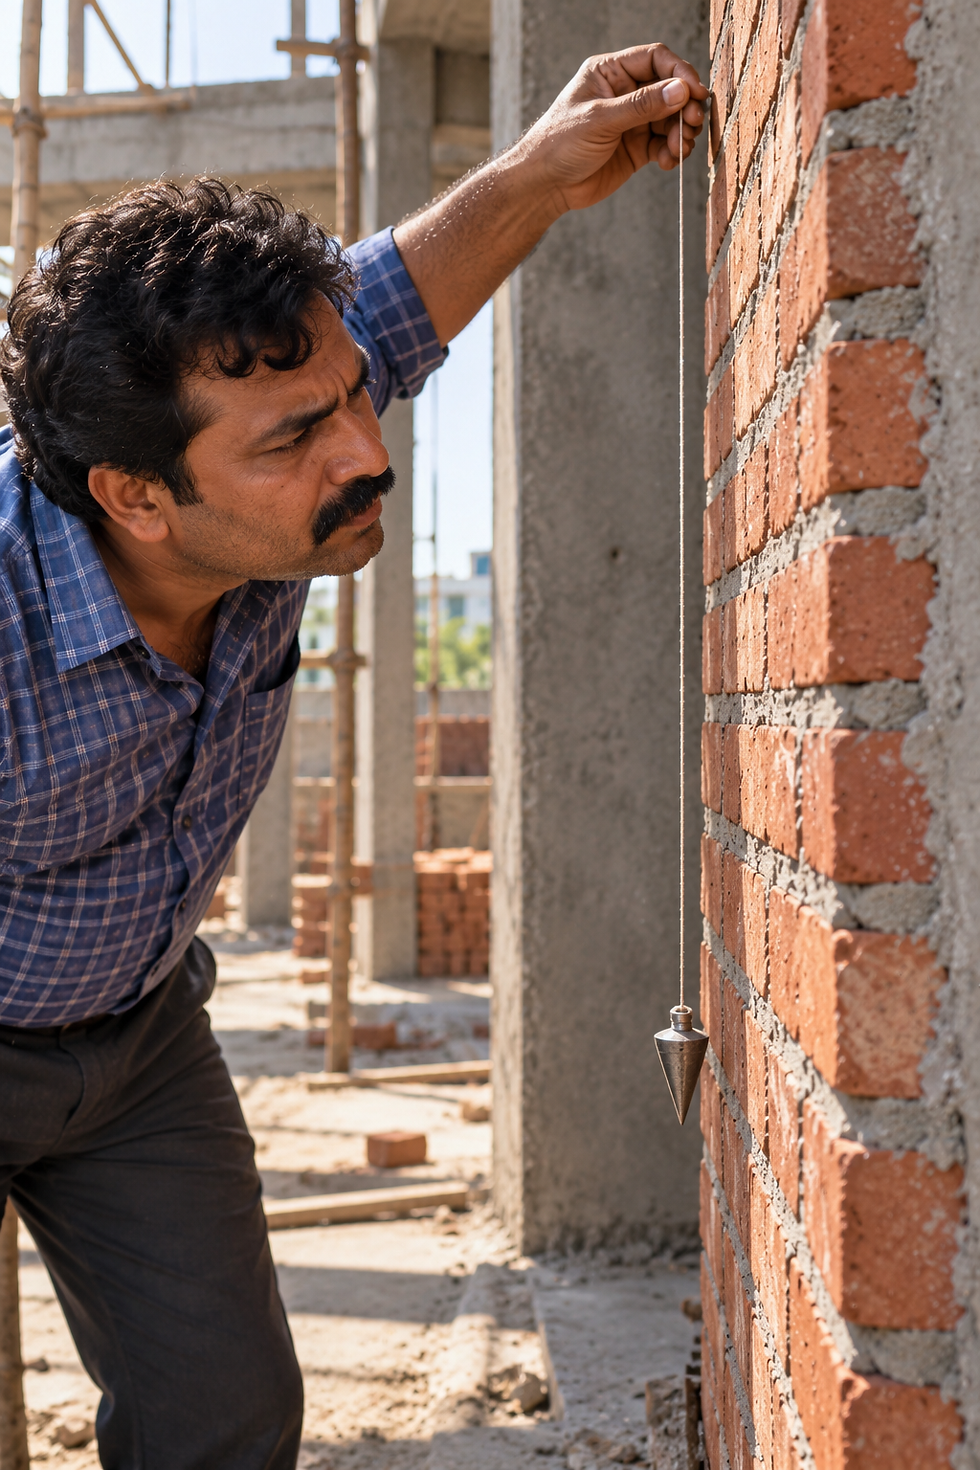
Hold a plumb bob (a string with a weight) against the wall. The string should be parallel to the wall surface from top to bottom with no more than 6mm deviation over 3 metres.
A wall leaning more than this will need thick plaster on one side — that thick coat cracks. It may also mean bricks were not properly aligned during laying.
What to do if failed: The bricklayer needs to chip back protruding sections or rebuild the offending portion. This is non-negotiable before plastering.
2. Level — Are Horizontal Courses Straight?
Using a spirit level or laser level, check that the brick courses run horizontally across the wall. Sloping courses create wedge-shaped mortar joints that are weak and crack faster.
Also check window sill height and lintel bottom level — these should be consistent room-to-room if designed that way.
3. Column-Wall Junction — Is There a Gap?
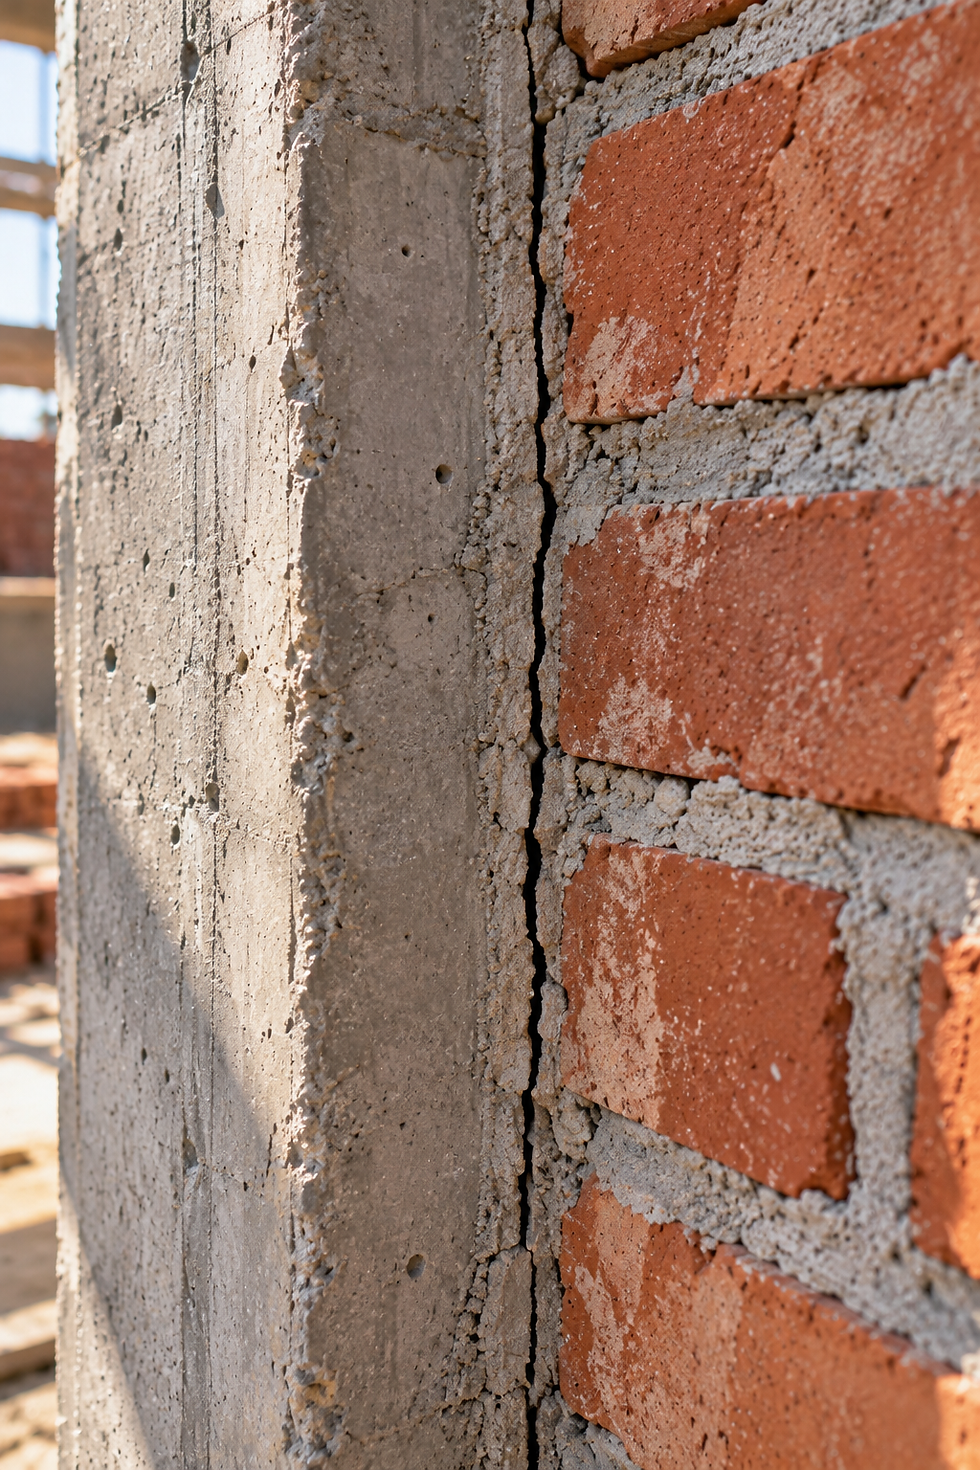
The joint between RCC columns and brickwork is the most common seepage point in Indian homes. As concrete and brick expand and contract differently with temperature, this joint opens up over time.
Check: Is there a visible gap at any column-wall junction? Even 1–2mm is significant.
What should happen before plastering: A chicken mesh (wire mesh) or a jute/glass fibre strip should be embedded across this junction in the plaster undercoat. This bridges the differential movement and prevents the crack from appearing on the finished surface. If your contractor is about to plaster directly over this junction without any mesh — stop them.
4. Mortar Joints — Are They Filled and Consistent?
Run your finger along the mortar joints. They should be fully filled — no gaps, no hollow sounds when tapped. Thickness should be consistent — 10–12mm per joint for standard bricks.
Thick mortar joints (above 15mm) weaken the wall and indicate bricks weren't properly sized or courses weren't checked during laying.
Hollow or empty joints allow water to travel through the wall directly. In Indore's monsoon this means seeping interior walls within one season.
5. Brick Alignment — Is Every Brick Properly Bonded?
Bricks should be laid in a staggered pattern — each brick overlapping the joint below by half its length. This is called "bonding" and it's what gives a wall its lateral strength. A wall where vertical joints line up (called "straight joint") has significantly less structural integrity.
Check corners especially — the interlocking at corners is critical for wall stability.
6. Wall Thickness — Is It Consistent?
Exterior walls should be 9 inches (two bricks deep). Interior partition walls 4.5 inches (half brick). Check with a tape measure at multiple points. A wall that tapers from 9 inches to 7 inches somewhere in the middle has a problem — either brick saving or poor supervision.
7. Opening Sizes — Doors and Windows
Before plastering, verify every door and window opening against the approved plan:
Width and height of each opening as per drawing
Lintel beam present above every opening (minimum 150mm bearing on each side)
Opening positions consistent room to room if designed symmetrically
Correcting an opening size after plastering means chipping, rebuilding, replastering — expensive and time-consuming.
8. Cleanliness of the Surface
Before plastering, the brickwork surface must be:
Free of dust, loose mortar, and any oil or curing compound
Raked joints — mortar joints should be raked back 10–15mm to give the plaster a key to grip. A smooth, flush mortar joint gives plaster nothing to hold onto and leads to plaster de-bonding.
Wetted thoroughly before plaster application — dry brickwork absorbs water from plaster too fast, weakening the bond
The One Thing Most Contractors Skip
Chicken mesh at joints.

Column-to-wall junctions, beam-to-wall junctions, and any junction between two different materials (brick to RCC, old wall to new wall) must have a wire mesh or fibre strip embedded in the first coat of plaster before the finish coat goes on.
This is standard practice under IS:1661 (the Indian code for plaster application). Most contractors in Indore skip it to save cost and time. The crack appears on the finished surface within 1–2 years — right along the column line. By then, the contractor is gone and the repair is yours.
Ask specifically: "Column junction pe mesh lagaya?" before plastering begins on each floor.
How to Do This Inspection Yourself
You don't need to be an engineer. You need:
A plumb bob or laser level (₹200–₹500, available at any hardware shop in Indore)
A spirit level — 1 metre length
A steel tape measure
Your approved building plan with room and opening dimensions
Walk each room systematically:
Plumb check on every external wall and every column face
Tap the column-wall junctions to hear if there's already a separation
Check mortar joints visually — any obvious gaps?
Confirm door/window opening dimensions with tape
Takes 30–45 minutes for a standard floor. This is the single most valuable hour you'll spend on your construction project.
Plastering Over Problems is Never the Answer

Everything hidden under plaster stays hidden — until it doesn't. The cracks, hollow sounds, and seepage that appear in year 2 or 3 of a new home almost always trace back to brickwork that was plastered over without inspection.
One walkthrough before the plasterer starts saves you from all of it.
Shriketu Construction Pvt. Ltd. includes pre-plaster inspection as a standard stage checkpoint on every project in Indore — column mesh, plumb verification, joint quality, and opening dimensions checked before any plaster coat begins. If you want that discipline built into your project from the start, their team is worth speaking to.
Quick Checklist — Before Plastering Begins
Check | What to Look For |
Wall plumb | Max 6mm deviation per 3 metres — use plumb bob |
Horizontal level | Brick courses running straight, consistent sill heights |
Column-wall junction | No gap, chicken mesh/fibre strip ready to embed |
Mortar joints | Fully filled, 10–12mm thick, raked back 10–15mm |
Brick bonding | Staggered pattern — no straight vertical joints |
Wall thickness | 9 inches exterior, 4.5 inches partition — check with tape |
Opening sizes | Match approved plan dimensions exactly |
Surface cleanliness | No dust, oil, loose mortar — surface wetted before plastering |


Comments